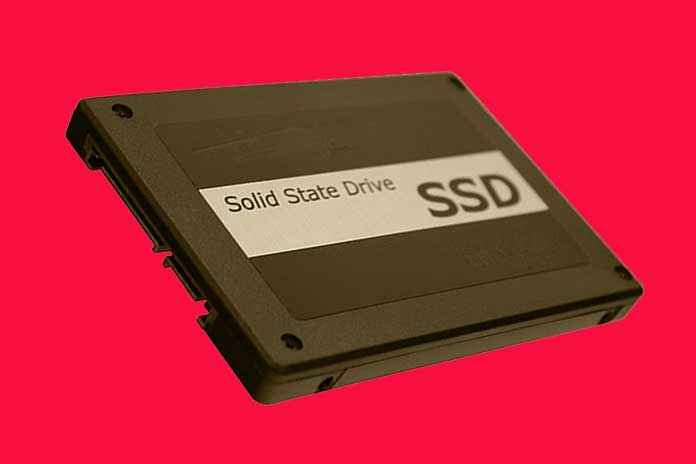
If you want to sell a computer, including an SSD, you should delete it securely. But this is not as easy as with HDDs. We will show you how it works.
Sooner or later, it will almost always come to this: the PC or laptop has had its day and is being sold. But what about the data backed up on it? If they are not securely deleted, strangers can restore private data such as photos or documents with little effort.
Securely erase hard drives: Not easy with SSDs
If you delete a Windows, Linux, or macOS file, it is not automatically removed from the hard drive. In simple terms, the systems only release the areas on the data carrier occupied by the data. Therefore, the content can be restored relatively easily with tools such as Recuva – especially immediately after deletion at the system level.
Professional data recovery companies can still recover files from magnetic hard drives for years. To prevent this from happening, the hard drive can be overwritten several times using special programs such as Darik’s Boot and Nuke – a method also recommended by the BSI.
As already described in various articles, SSDs work completely differently than classic magnetic hard drives. This is especially important when it comes to deleting files securely. As part of what is known as “wear leveling,” SSD controllers ensure that data is evenly distributed over the blocks of the flash memory to increase the service life of the SSD.
Neither the user nor the program can determine which parts of the SSD are written to. As a result, the traditional multiple overwriting is no guarantee of secure data erasure on SSDs. Not only can you never be sure whether the occupied data blocks were actually “caught” while being overwritten, but frequent writing can also shorten the lifespan of the SSD. Fortunately, there are methods to erase SSDs too securely.
Also Read: Essential Steps To Follow After Purchasing A New Computer
Securely erase SSDs with manufacturer tools
Since the traditional method of securely erasing hard drives on SSDs is not applicable, another solution is needed. This usually comes directly from the manufacturers of solid-state disks. Practically all well-known manufacturers offer programs for managing the SSDs via the support area. Virtually without exception, these also offer the option of erasing the corresponding SSD. Examples are the Samsung Magician, the Sandisk SSD Dashboard, the OCZ SSD Utility, or the Corsair SSD Toolbox.
Ideally, erasing the SSDs even works directly under Windows. For this, the SSD must not be the boot medium but must either be a second drive or in external USB housing must be integrated into the PC. If this is not the case, the programs usually offer to create a USB boot stick. Boot the PC over it to erase the SSD.
Some SSD manufacturers offer two options for erasing the drives, such as SanDisk. In addition to the “Secure Erase” function, there is also the “Sanitize” item. In doing so, the program not only overwrites the assignment table of the SSD but also deletes all written blocks.
This is especially worthwhile if you are selling the SSD and want to be one hundred percent sure that no data can be recovered. If the manufacturer of your SSD does not offer such options, there is no need to worry: The manufacturer’s programs are usually designed to erase the SSDs in such a way that the data stored on them cannot be restored.
Also Read: Computer Worms: What They Are And How To Stop Them
Erase SSDs with Parted Magic
The specialized Linux distribution Parted Magic offers another option for securely and completely erasing an SSD. Parted Magic is an extensive collection of programs for checking, maintaining, backing up, or even erasing hard drives. The system starts completely independently of the installed operating system from a USB stick and offers all options for securely erasing SSDs in the following.
Unfortunately, the distribution has not been available for free for several years. If you only want to use Parted Magic once to format an SSD securely, the development team, as of this article, charges the US $ 11. Alternatively, you can purchase a one-year subscription to the software for $ 49, which is updated every quarter. Despite the cost factor, Parted Magic is a good solution for everyone who either does not have success with the official manufacturer tools or for users of SSDs for whom there is no suitable software.
After purchasing Parted Magic, you have to either burn the ISO to a CD or create a bootable USB stick. You can use the Etcher program for this purpose, for example. Then start the PC with Parted Magic. In the start menu (bottom left), you will find the entry “Erase Disk” under “Disk Management.”
Here you select the function “Secure Erase – ATA Devices” or (if supported by your drive) “Sanitize – ATA Devices.” If you are using an M.2 SSD, “NVMe Secure Erase” is the right choice. In the next step, select the SSD to be deleted and confirm after clicking on “Continue” The deletion process. If the SSD is locked with the message “Frozen,” it can help to put the PC to sleep via “Logout”> “Suspend Computer” and then restart it.
As convenient as using Parted Magic to erase SSDs is, be sure to exercise caution when using the program. Especially when there are several hard drives in the PC, you should be sure to get the right SSD. With desktop computers, in particular, it may make sense to pull out the cables from all drives that cannot be deleted before using Parted Magic. It can also happen that Parted Magic does not support erasing the SSD. In our experience, however, this rarely happens and is more of a case for exotic drives.

